ARCHER PRASANTA / STORE
YOUR CART
0 ITEMS
0
YOUR CART IS EMPTY
Add bike-care products to your cart and they will appear here instantly.
EXPLORE STORE ↗
FULL BODY PAINT / ARCHER PRASANTA
A new expression for your motorcycle. Thoughtful preparation, a considered colour and a finish that brings every panel together.
From the first surface check
to the final reflection.
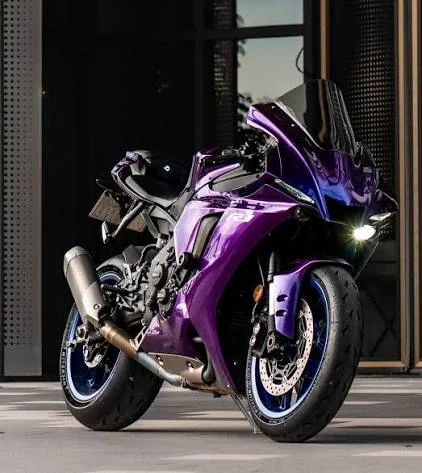
01 / EIGHT FINISH DIRECTIONS
Explore all eight finish options. Choose a direction to see its digital colour study and start planning your project.
01 / 08 — DYNAMICSHIFT
Explore Dynamicshift as a direction for your motorcycle. This digital study pairs vivid pink, purple and warm highlights to help start the conversation.
Pink · Purple · Warm highlights
Discuss the preferred colour combination and review a physical sample.
02 / 08 — COLORSHIFT
Explore Colorshift with a blue-to-violet mood. Consider how the chosen colours relate to the tank, panels and the rest of your motorcycle.
Blue · Violet · Soft highlights
Check the selected finish from several angles and in different lighting.
03 / 08 — CANDY
Explore Candy with a deep red visual direction. The digital preview is a starting point for discussing tone, contrast and the appearance you want.
Deep red · Bright reflections
Confirm the shade and paint system using a physical finish sample.
04 / 08 — NEONS
Explore Neons for a striking colour direction. This green digital study helps you consider where bold colour sits against the motorcycle’s darker components.
Bright green · Strong contrast
Discuss colour choice, suitable materials and care expectations.
05 / 08 — METAL FLAKE
Explore Metal Flake with a gold sparkle study. Use a physical sample to choose the appearance and level of visual detail you want for the project.
Gold · Sparkle · Light
Review the sample texture and appearance before confirming the direction.
06 / 08 — CRYSTAL PEARLS
Explore Crystal Pearls with an aqua-inspired digital study. Bring your own reference and we can discuss the combination of colour, shape and finish.
Aqua · Cool tones · Highlights
Confirm the exact material and colour with a physical sample.
07 / 08 — PREMIX
Explore Premix as one of the available finish directions to discuss. This red sparkle study is illustrative; the selected product and shade are confirmed during planning.
Red · Sparkle · Contrast
Review the actual product, colour and availability for your project.
08 / 08 — VIVID PEARLS
Explore Vivid pearls with a dark, multi-toned digital study. Consider how its highlights sit alongside the engine, wheels, seat and trim.
Dark tones · Purple · Warm highlights
Choose from physical samples and discuss the final application.
Illustrative digital swatches, not exact product samples. Confirm finish, colour and availability during consultation.
ILLUSTRATED LAYERS / NOT TO SCALE
02 / THE WORK BENEATH THE COLOUR
A good finish begins with the condition underneath it. Preparation, colour and refinement need to work as one system.
Assess existing coatings, scratches, dents and earlier repairs.
Correct and prime for the selected surface and paint system.
Consider coverage, panel balance and how the colour reads in light.
Allow for the chosen clear, cure and final refinement process.
The exact layers and sequence depend on the selected paint system.
03 / FROM PREPARATION TO PRESENTATION
The colour is one part of the project. The work before and after it gives the finish its character.
Review panel condition, previous coatings and your colour references. Agree on the scope, estimate and finish before the main work starts.
Clean, sand and address the surface defects identified during assessment. Discuss additional repairs if preparation reveals more work.
Prepare and refine the primer system selected for the surfaces and finish. A consistent foundation comes before colour.
Build the selected colour with attention to coverage, appearance and balance across the agreed panels.
Apply the appropriate finishing system and allow for its curing requirements. The chosen materials determine the sequence.
Complete the appropriate final refinement, checks and reassembly. Review the finished work and care guidance before handover.
Already a customer? Review service information shared by the workshop.
Open My Account04 / THE COLOUR NOTEBOOK
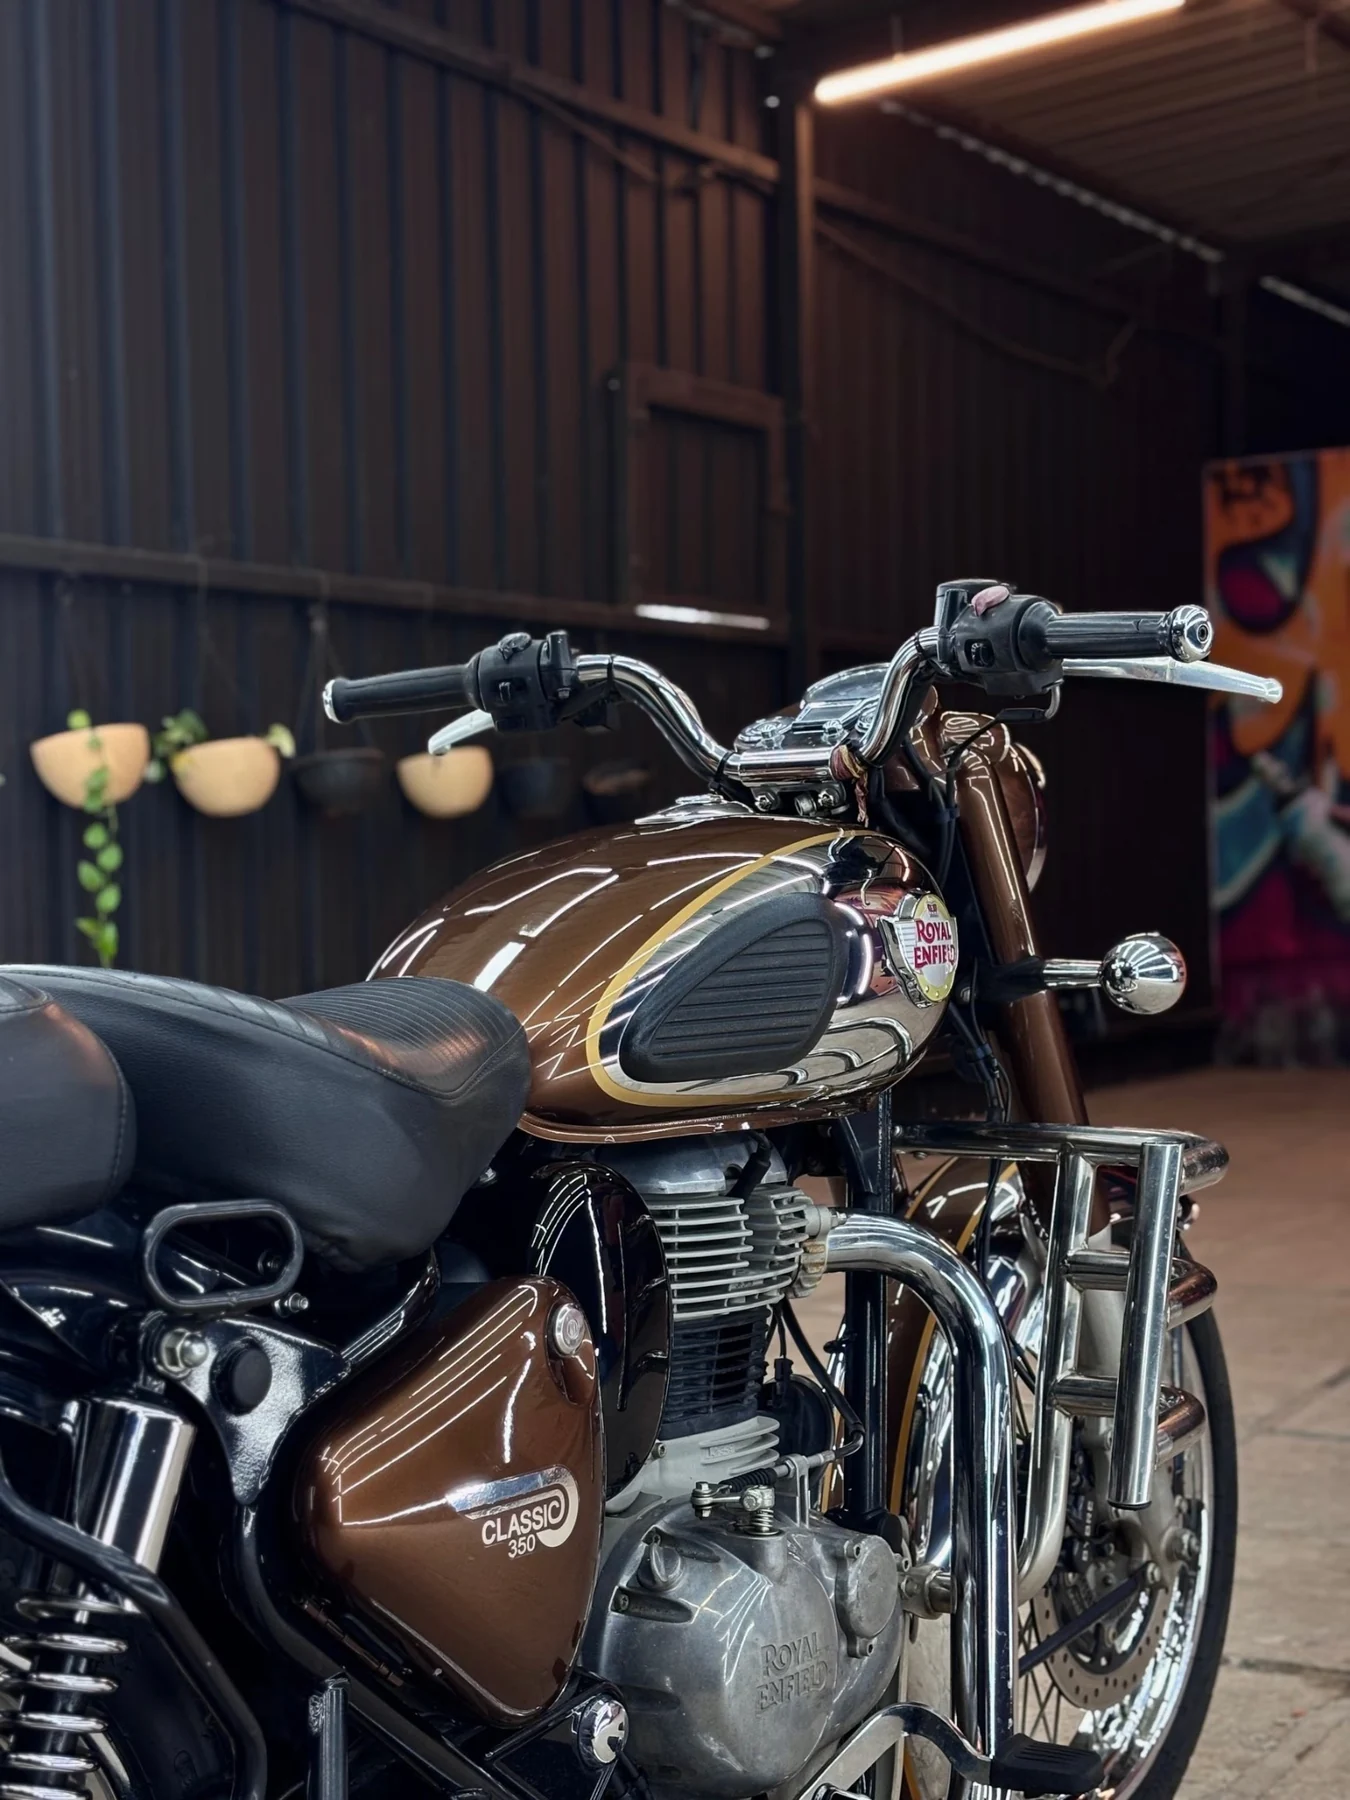
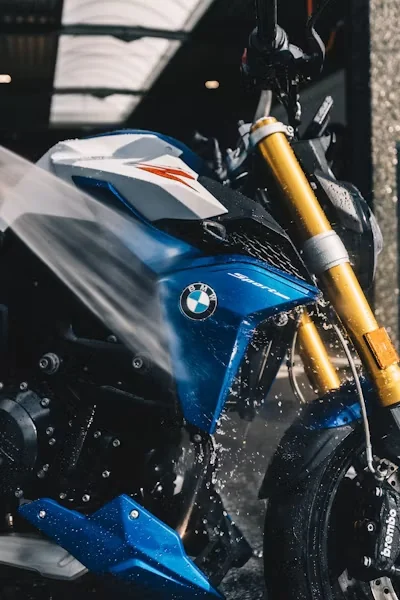
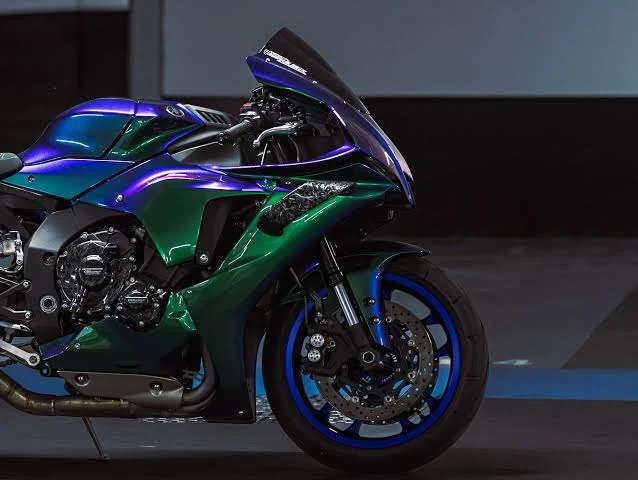
Reference imagery. Archer Prasanta project photographs will be added here.
05 / PLAN THE WHOLE RESULT
Agree on the panels, preparation and visual direction before the paint work begins.
Which panels are included, what needs repair and which components stay as they are.
Colour, gloss or effect, plus the relationship with the engine, wheels, seat and trim.
Materials, preparation, curing time and care guidance appropriate to the chosen finish.
06 / BEFORE YOU CHOOSE
Your motorcycle and your chosen finish define the work.
Yes. The direction can stay close to the original appearance or move to a new colour concept. Share reference photos so the colour, contrast and overall finish can be discussed before the work starts.
Full Body Paint is intended for a coordinated finish across the agreed body panels. A single tank, smaller repair or selected panels can also be discussed during inspection. The estimate defines what is included.
These finishes can be discussed depending on the project direction and material availability. The exact paint system, appearance and maintenance expectations are confirmed during planning.
The photographs are visual references. Screens, lighting, panel shape and the chosen paint system can change the appearance. Confirm the colour and finish with a physical sample before approving the direction.
Panel condition, preparation, repairs, chosen materials, finish and curing requirements all affect the project. Inspection defines the initial scope and estimate; additional findings may require a revised plan.
Yes. Use the inspection request page to share motorcycle details, current-condition photographs and colour references. These help the first conversation; the inspection confirms the work required.
BRING YOUR MOTORCYCLE. BRING YOUR IDEAS.
Share its condition, a colour reference and the direction you have in mind.